Apparently I took the summer off!! :) Managed to do a few crafty things here & there, but just didn't have time to post them!! (Keeping up 4 blogs can be time consuming!! ;) Well, I'm back & no time like the present to get crafty!! I've worked on a few projects lately, so I'm gonna show off what I've done!! :)
Curtains for Madelyn:

I made these a while ago, but just realized that I haven't posted them!! :) These pink curtains have served us well!! We have re-fashioned them about 3-4 times now!! (You can see them in their previous styles over
HERE!) However, this will probably be the last re-do!! ;) I made 3 simple panels, with about a 2" curtain rod slot at the top. I made a simple ruffled skirt (gathered the top & sewed it to the bottom of the panel) for each panel. For the pink panels, I sewed a simple strip of zebra fabric across the center. I made 2 fabric flowers for each panel, alternating prints.
For the flowers: I'm so mad that I didn't take pictures while I was making them!! :( However - they were super easy!! I took a strip of fabric (width & length depends on how big you want them), gathered the top, then just spiraled the fabric to form the "flower"!! Once I got it how I wanted it, I hot glued it in place. On top of the flower, I made & attached a smaller flower (shown
HERE) & then topped it off with a little bling!! ;)
Iron-Ons:
I just love Iron-Ons!! They are a super easy, and relatively cheap way to re-do a shirt!! :) Here are a few that I've done:

Cute little onsies & cute big girl shirts!! :) These iron-ons came with some jewels that you could add on & they looked great when I was finished!! However. . . after a wash or two - most of the jewels that were attached to the iron-on, came off!! :( The ones that were directly ironed on to the shirt managed to stay. Wish I had known in advance!!! :(
Bleach Pen:
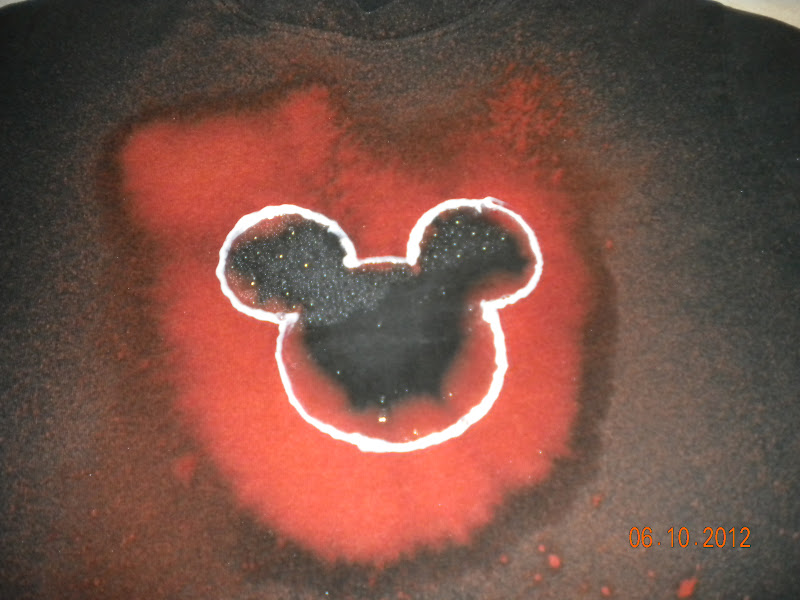
Bleach pens are one of the greatest inventions!! Not only can you get rid of stains easily, but you can create great shirts!! ;)
I started with this plain shirt. Kind of a coral color, but didn't match any of Madelyn's shorts (other than denim) & had never been worn. So, I had an idea & went with it!! ;) Took my bleach pen & a ruler and made stripes down the front of the shirt. I let the bleach sit for about 20 minutes & then washed & dried the shirt.


While it was washing, I found a white tank top & cut three strips (even though there are only 2 showing!) ;) I turned those strips into flowers (like
THESE). I took a needle & thread & sewed each flower together, so that all the layers would stay intact!


To add a little extra to the flowers, I took some tiny beads & sewed them on by hand! It was super simple!! I just added 5 beads to the needle, made a tiny stitch in the flower, then added 5 more beads & kept up that pattern, going in a spiral!

When the shirt was dry, I sewed the flowers on & ta-da!!! A new shirt!! :)
Madelyn loved it & said she got lots of compliments at school!!! :)