Showing posts with label Cricut. Show all posts

Tuesday, October 4, 2011

Army Party

My son just turned 6 & wanted an "Army" themed party!  I've had camouflage on my brain for about a month!!! :)  I was so excited when I found a super simple, super cheap camouflage party section at Wal-Mart!!  Each item was only $0.97!!  I grabbed some plates, napkins and table cloths!!  Over in the regular paper products section, I found some normal-sized camo Hefty cups!!  (And even had a coupon!! ;)

For the goody bags, I used regular brown lunch sacks, scrapbook paper, glue & die-cuts made with my Cricut machine!  This is what I came up with:

I printed the "6" & tore the edges - attached to a square of camo paper, then glued (with Elmer's glue - my scrapbook adhesive wouldn't stick that well to the bag!) onto the bag!  I made the "dog tags" with a military Cricut cartridge, then attached to the bag with some green jute!  (I found it in the hardware section - it's garden twine & was under $2!)  I found mini grenade squirt guns, camo airplanes & camo bracelets all at the Dollar Store!!  I also got some plastic dog tags & treats at Wal-Mart!

 I found these cool cupcake liners at Hobby Lobby!  You can use them without a cupcake pan, but I wouldn't suggest it - mine spread out & were kind of "fat"!  :(  (Kids didn't mind, of course, but not as "neat" as the others I made!)
 Simple cupcakes, topped with a soldier!!
My son's tank cake!!  Super easy!!  For this cake, I used:
* 6 York Peppermint Patties (or chocolate cookies)
* Chocolate licorice (or mini Twix)
* frosting
* 1 sucker stick
* toothpicks


Here's how to assemble the tank:
 1.  First, I used a small, oven-proof glass bowl, and filled about 1/3 full with cake batter.  (I added green coloring, as you can tell! ;) I baked according to directions, but watched carefully, as it was such a thin cake!
 2. Once it cooled completely, I (tried to evenly) cut off the 2 side pieces.
 3.  Next, I placed the 2 pieces on top of the middle piece.
 4.  Then, I trimmed of the ends of the top pieces.  I put toothpicks through the tops of the two pieces, and a few through the sides, just to make sure they'd stay!
 5.  I "dirty iced" (to quote the Cake Boss ;) the cake, so all the crumbs would stay put!  I let it chill in the fridge for about 10 min.
6. Once chilled, I frosted the entire cake!  I let that layer chill, then added the finishing touches!!  Measure your licorice pieces to fit along the far right & left edges of the bottom layer, and cut enough to fill both sides.  Place as many Peppermint Patties that fit, along each side of the the bottom layer to represent "wheels" - since my cake was small, I only fit 3 on each side!  Use toothpicks to secure.  Lastly, measure a piece of licorice to fit about 1/2 of a sucker stick, and insert the stick inside the licorice.  Using the exposed end of the stick, poke into center of bottom layer, just under the top layer.


Our party was quite simple - just had it at the party with family, but we had a great time!!!  :)

Wednesday, September 29, 2010

A Little Behind

OK - so I haven't "got around" to much of anything crafty lately!! (Well, nothing finished anyway!!) My "Money Matters Monday" post has been delayed a few days, being that it is now Wednesday!! However, with that said, here are just a couple of my deals for the week:

1. Super cute shoes for Ladybug - Target of course!! ;) Only $3.24!!


2. Pamela's gluten-free chocolate chip cookies - usually between $4-$5 . . . got 'em for $0.50 @ Wal-Mart!!! (Of course I had to buy FOUR boxes!!! - And NO, they weren't expired!!) ;)


3. OK - - so you ready for the deal of a lifetime???? (Drum roll please!!!) At Wal-Mart, I got a Cricut Create foooooorrrrrrrrrr. . . . $45!!!! It was $149 (and $199 @ Target!!!)!!

Can you believe it??? I've got it on Craigslist right now, (being that I already have one), for only $100 - which is still super cheap, so hopefully I can make a little $ off of it!!! ;) Anyone out there interested??????? ;)

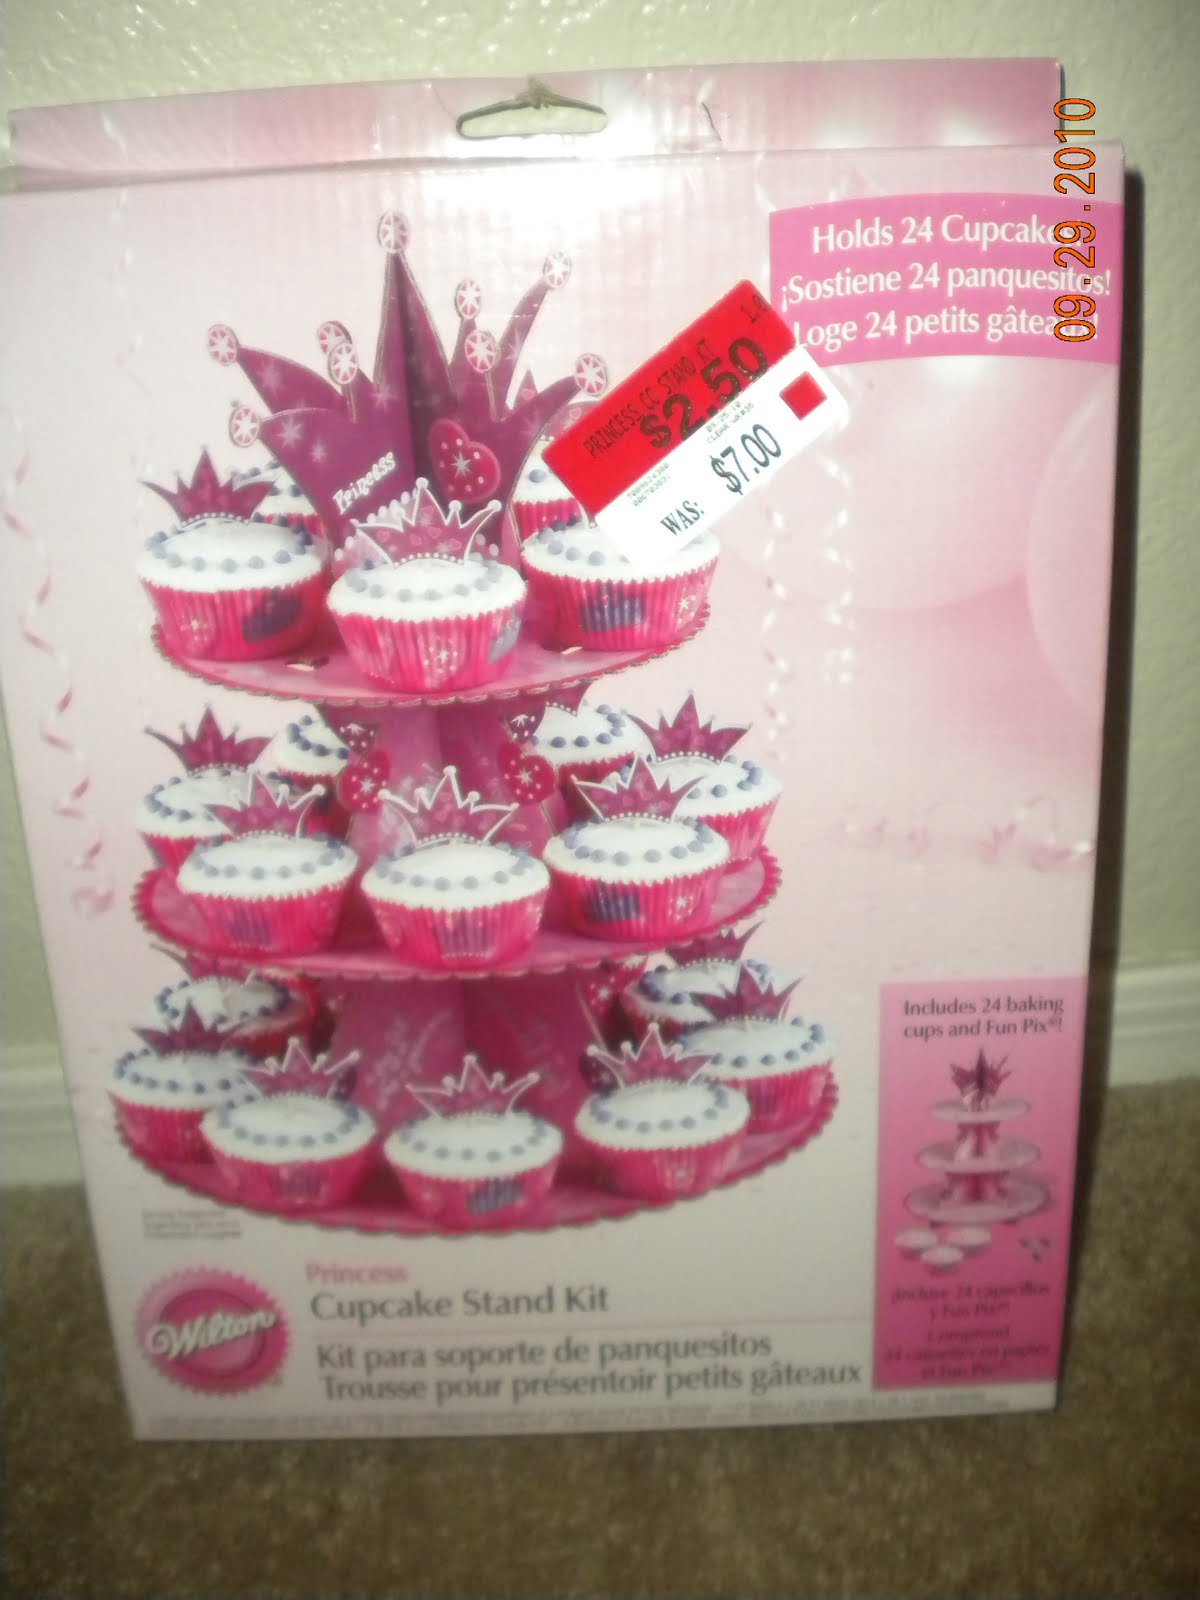
4. Cute cupcake stand (Wal-Mart again), for only $2.50!! It holds 24 cupcakes, comes with 24 liners & little crown picks!!! Can't wait to use it - and with 2 girls, we'll use it lots!!:)

Monday, September 13, 2010

Bathroom Clock

I'm getting there!! Almost done with the bathroom - woo hoo!! :) I finished the clock that has taken me forever!! It was super simple - -once I figured out what I wanted to do with it!! I tried a few different paints, a few different lettering styles, and a few different ways to hang the clock!! I finally settled on Rust-Oleum's "Hammered" spray paint, white Contact paper letters, and hanging the clock with a tack!! :) Let me explain. . .

I found this frame

& being that it was only $1.41 - at none other than Fry's- I just HAD to buy it!! (I knew I'd find something to do with it!! :) Then, I found this clock:

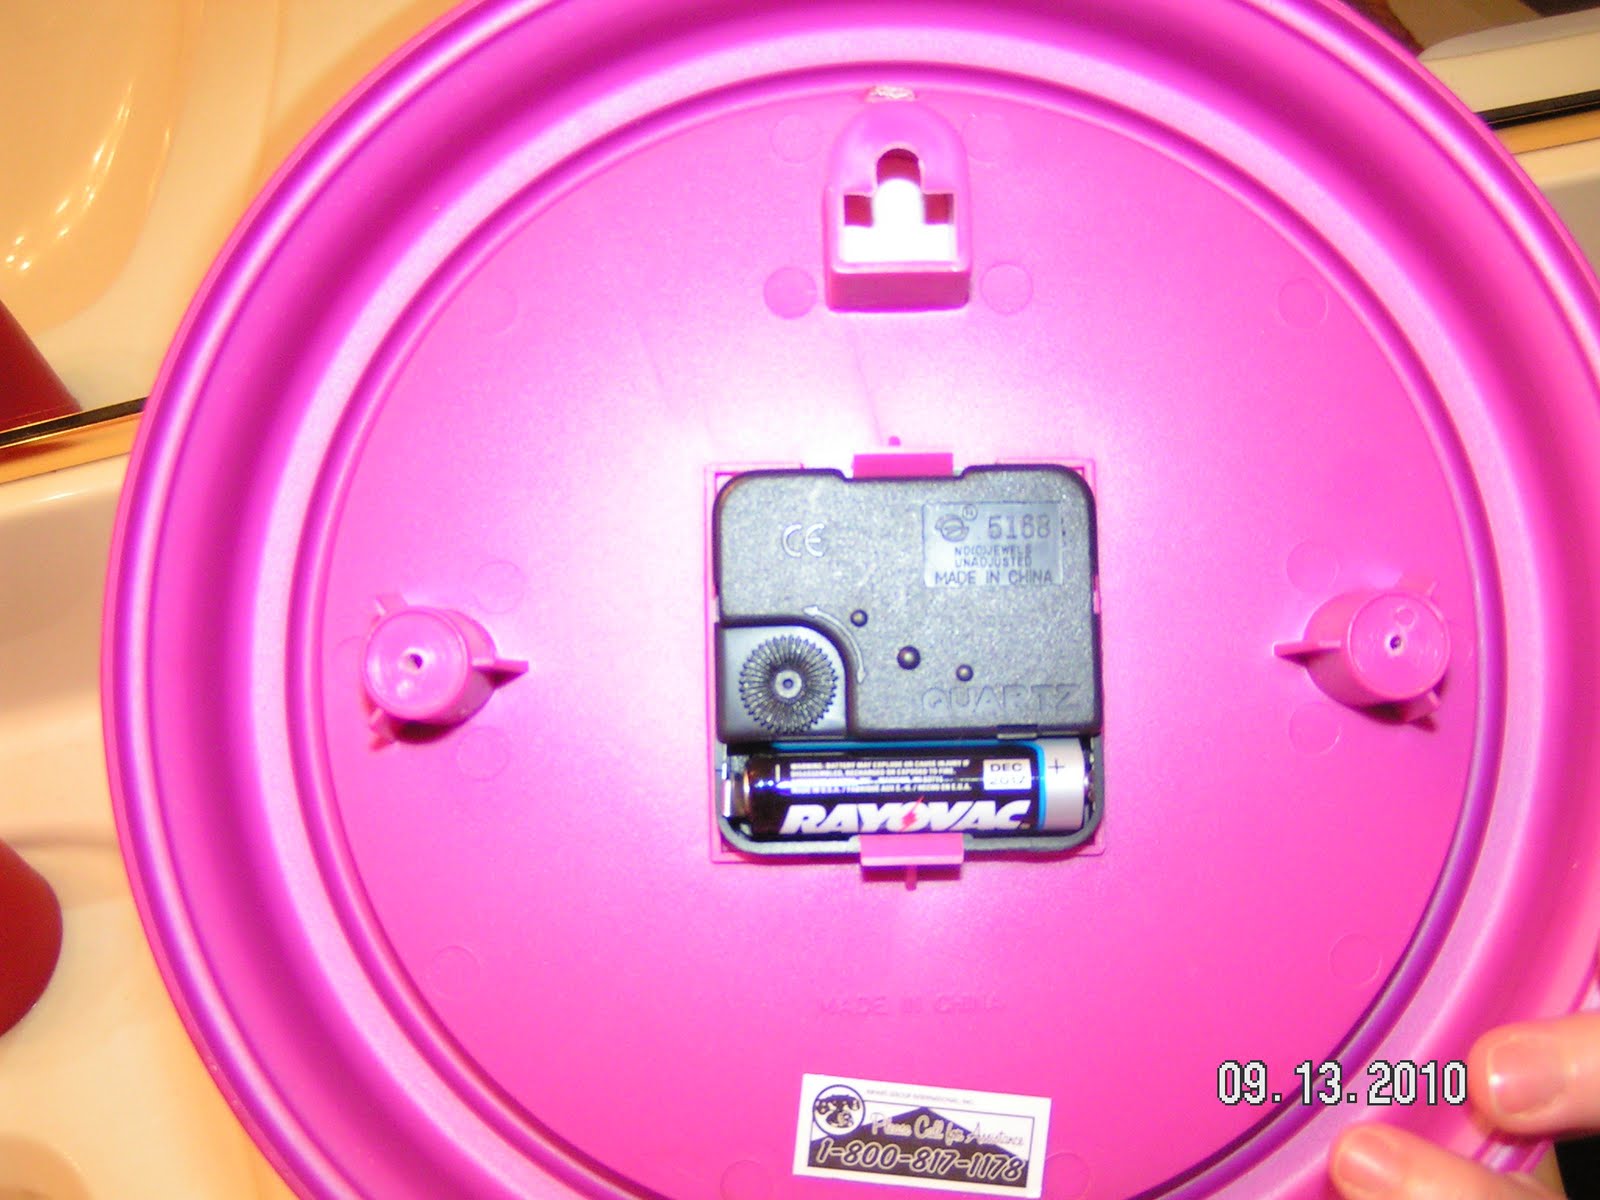
a whopping $1.98 @ Target!!! (Not my color, but for the price, I knew I could make it my color!!) Sooooo. . . I decided to combine the two!! At our house, we have a little issue with taking long showers!! (Well, kind of one child in particular - - but I won't say HER name!! ;) Anywho - we're always putting a little clock on the counter so she can check the time & get out within 10 minutes!! I figured a big clock on the wall would be much better!!

For the clock: First, I carefully took the clear cover off the clock, (not as easy as I'd hoped!), removed the hands & then placed a piece of paper I cut, on top of the clock numbers. Then I sprayed it with Wal-Mart's red spray paint! :)


For the frame: after realizing that the frame was actually plastic, (boo!), I tried some paints I had, but they just wiped right off!! :( Then, I used some Rust-Oleum primer (don't know if I needed it, but used it anyway!), then followed with some Rust-Oleum "Hammered" spray paint! (Used this brand because my mom gave them to me to try & FREE is always nice!!) :) After the paint was dry, & got out the fabulous Cricut machine & cut some letters out of white Contact paper & stuck 'em on!! After trying for a while to screw the clock on, I tried to put one screw at the top & slide the clock over the screw!!

Well, I had to start the hole with a tack & then couldn't get the tack out!! .... hence the lovely tack-clock-hanger idea!!! :) What ever works - right!!??

Friday, September 10, 2010

Easy Bathroom Art

This was definitely a no-brainer project. . . yet again!! :) I found some cute red frames at none other than the dollar store, and thought they'd be perfect for my hall bathroom! I used some subtle scrapbook paper as a background & then cut some cute silhouettes with the Cricut - - that's it - - told ya it was a no-brainer!!! :) I'm still working on a few other bathroom projects, so hopefully all will be done soon!!!

Tuesday, August 31, 2010

Finished Wall Art - FINALLY!!

Ok, so I FINALLY got around to finishing my wall art!! I needed a big piece of wood to make the top piece, and finally realized I could use something I already had!! I had a piece of wood that had 3 peg-hooks - - - didn't need the hooks, so I just sawed them off!! :) Added a coat of paint & then repeated the same lettering process as I did in step 1 & hung them all up!!! I made some cute Contact Paper flowers with the Cricut to fill in the emptiness around the words. No, the words on the top board didn't get centered perfectly, but all-in-all, I'm quite happy with it!! :) (Not exactly the "shabby" PB look, but still cute!!) ;)

I think the Contact flowers added a lot!!!

Monday, August 2, 2010

Back To School!

Well, we don't officially go back to school for 9 more days (who's counting :), but we did a fun project today to get ready!! Since Madelyn's going into FOURTH grade this year, she needed a HUGE 3 inch binder!! Being that they're kinda pricey, (like $10!), we used one that we had & "jazzed" it up! ;) Using the Cricut and some white contact paper, we came up with this:

Cute, huh?? I guarantee no one else with have a cuter 3 in. binder!!! :)

Friday, June 25, 2010

Lovin The Cricut!!

I know that the Cricut has been out for a long time, and there are even bigger & fancier Cricuts than the one I have (well, I should say, that my mom has, since I'm using hers!!) - however... I just love it!! I just wanted to show you my spin on the whole vinyl lettering craze!! I've never priced it, so I have no clue how much it can run, but I guarantee that my way is cheaper!! ;) It's all about Contact paper!! You can do just about anything with it & it's pretty cheap! I have a big roll of black Contact paper that was given to me, and I'm thinking that it was purchased at Teaching Tools or Lakeshore (or some other teacher supply store)! I also purchased a roll of white from Target & spent around $4. Here are a few things I've done with the Cricut & Contact paper:

Made my own "vinyl lettering" in the kids' rooms! I made a sword stencil, freehand, and then cut 2 out of Contact paper!! The crowns were from a Cricut cartridge! I have little jewels on the crowns, but they're too small, so I'm going to replace them with ones you can actually see!! :) (And there will be more stuff added to the top of her plant shelf!) ;)