Showing posts with label birthday parties. Show all posts

Wednesday, October 10, 2012

A "Favorite" Party

Have a kid that has so many "favorite" things that you just can't decide on a party theme??  Well, we did!!  ;)  After going back & forth from one theme to the other. . . I decided to keep it "simple" and pick them all!!!  :)  It was a super-simple, small party, but the kids had a great time!!  I can add a few projects to my "tried it" board on Pinterest, because I actually made a few things that I've pinned!!  ;)

For starters, I made a super easy banner.  I found the idea HERE, but I didn't want to involve my sewing machine, so I simplified it!!  :)
  
Materials:  I used a comic book that had some torn pages (in other words, not a "valuable" one ;), I made some color copies from a few books, and I also included pictures that I had printed from home.   I also used green gardening jute/twine (Wal-Mart), tape & ribbon.
 I cut my pictures to the size I wanted them, then simply taped them over the twine.  I tied a knot in the twine, before & after each picture, so they wouldn't slide around.  Lastly, I tied a few strips of ribbon onto the twine!

 Super simple & quick!!  ;)  (Bummed I forgot to take a picture of them hanging - - they looked cute with balloons tied to each end!!  ;)


This is what the invitations said:
 
Seven


Come celebrate
Hunter’s 7th birthday!

We’ll be doing lots of
Hunter’s favorite things
& he wants his favorite
 people to join him!


The party was only 2 hours long, but we managed to squeeze in a few fun things!!  :)

Hunter's favorite superhero is Spiderman, so we rented this bouncer!  We could have EASILY gotten away only having this as our entertainment, but of course, that would be too easy!!  ;)
Hunter wanted to paint, so I made a little "canvas" (out of foam core - cut 2 large pieces into 12!) for each kid, then used my Cricut to cut out their names from Contact Paper.  I stuck the names on, we painted over the letters & took the letters off once the paint dried!!  (This is my other son's picture, but again, thanks for the idea, Pinterest!! ;)


I made mini bow & arrows for each kid (one bow w/ 5 arrows each)!  They were kinda time consuming - - you have to soak the sticks in water (the longer the better. . . like overnight!), then cut little notches on each side - top & bottom - then while bending the sticks (carefully), tie (I used embroidery floss) the string on both ends!!  They were worth it, because they were actually quite awesome!!  They shot pretty far!!  We had a contest to see who could hit the target & the kids were so serious!!  ;)  Again. . . Pinterest!!!  ;)
 Our menu was full of Hunter's favorite foods: Hamburgers (and hot dogs), his favorite chips, his favorite veggies & dip, pasta salad, and his favorite drink - 7Up (mini Halloween cans). . . perfect for a 7th birthday!! ;)  I also had water bottles that I removed the labels from & wrapped a strip of cool duct tape around!!  (Pinterest!!;) 


Simple goodie bags - red lunch sacks!!
 I filled the bag with superhero candy (Dollar Tree), "Wallace & Gromit's modeling clay", sidewalk chalk, a few little trinkets & a coloring book that I made!!  :)
 Hunter LOVES clay & LOVES Wallace & Gromit, so we had to put the 2 together!!  ;)


A simple party that was lots of fun!!!!  :)  (I guess I should call it our "Pinterest Party"!!  ;)

Saturday, March 17, 2012

Party Time!

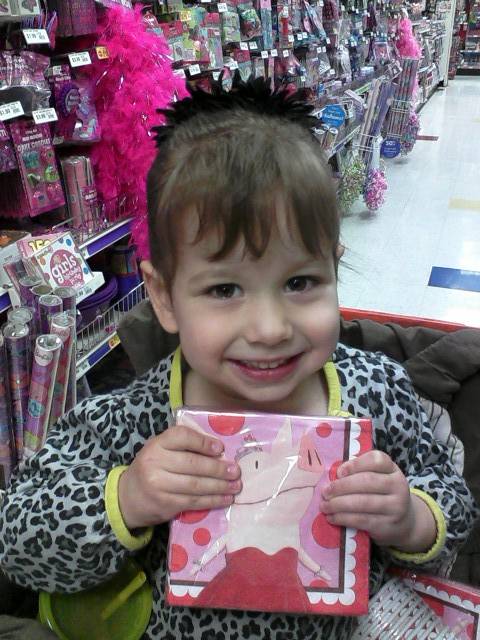
It seems to always be "party time" at our house!!  With 6 of us in the house. . . there's always something to celebrate!! ;)  This time, our little Ladybug turned 3!!  Being that she is obsessed with the show, Olivia, it was an easy choice for the party theme!!  However, finding party supplies to go with the theme, wasn't so easy!!  :(  I looked everywhere - for a few months - and no luck!!  Target had like 2 things in their "One Spot" section & that was it!!  Of course, there was a ton of stuff online, but I didn't want to spend a ton & pay shipping - especially since we were keeping the party small & simple!!  Well - you can imagine my excitement when I found a few Olivia items at Party City!!!  (This was really a surprise because there aren't even any on their website!!)  I talked to an employee & she told me that they would indeed be getting more stuff soon!!  So, you can bet I checked back weekly until they did!!!  ;)  (One of the perks of planning ahead!!  ;)  We ended up getting cups, plates, napkins, a table cloth & balloons!  (Not a ton, but more than I had imagined!! ;)


One happy little girl!!  ;)


As far as the party goes, we kept it very simple: cupcakes & ice cream!  (I added a treat or two, but that's about it!)  We had pink lemonade cupcakes, red velvet cupcakes, vanilla ice cream, strawberry ice cream, and "Olivia" popcorn!  We played "pin the bow on Olivia" with a picture that I painted.  When the kids left, they got a simple goodie bag with a cute Olivia tag attached!  - - Like I said - we were going for simple!!  ;)

The goody bag tags & the thank you cards - made both online @ Wal-Mart!  The tags are actually Valentine's cards & I just uploaded an Olivia picture!  I added Olivia pictures to my thank you cards as well!!  Super simple!!  ;)
Simple goody bags!  Since we planned early - an Olivia party was perfect for after Valentine's Day!!  Pink & red were everywhere & found a bunch of trinkets on clearance!!


For "Pin The Bow on Olivia", I copied a picture of Olivia onto a Word document - then I enlarged the image as big as I could.  Only part of the picture fit onto the screen, so I printed the picture - then resized it, moved the image over - enlarged it - then printed again!  I repeated the process until I was able to print out every part of Olivia.  I taped it all together - taped it to a window (during the daytime), and outlined it in black.  With the final copy, I used a piece of carbon paper & traced the image onto a poster board.  After that, I used craft paint to paint it all in!!!  Now, I'm sure there's an easier way. . . but that's what worked for me!!!  ;)
Simply cut out red bows from cardstock & wrote the kids' names on them!


"Olivia" popcorn!!  (Microwave popcorn with melted red chocolate drizzled on top!)


Cupcakes!!

Tuesday, October 4, 2011

Army Party

My son just turned 6 & wanted an "Army" themed party!  I've had camouflage on my brain for about a month!!! :)  I was so excited when I found a super simple, super cheap camouflage party section at Wal-Mart!!  Each item was only $0.97!!  I grabbed some plates, napkins and table cloths!!  Over in the regular paper products section, I found some normal-sized camo Hefty cups!!  (And even had a coupon!! ;)

For the goody bags, I used regular brown lunch sacks, scrapbook paper, glue & die-cuts made with my Cricut machine!  This is what I came up with:

I printed the "6" & tore the edges - attached to a square of camo paper, then glued (with Elmer's glue - my scrapbook adhesive wouldn't stick that well to the bag!) onto the bag!  I made the "dog tags" with a military Cricut cartridge, then attached to the bag with some green jute!  (I found it in the hardware section - it's garden twine & was under $2!)  I found mini grenade squirt guns, camo airplanes & camo bracelets all at the Dollar Store!!  I also got some plastic dog tags & treats at Wal-Mart!

 I found these cool cupcake liners at Hobby Lobby!  You can use them without a cupcake pan, but I wouldn't suggest it - mine spread out & were kind of "fat"!  :(  (Kids didn't mind, of course, but not as "neat" as the others I made!)
 Simple cupcakes, topped with a soldier!!
My son's tank cake!!  Super easy!!  For this cake, I used:
* 6 York Peppermint Patties (or chocolate cookies)
* Chocolate licorice (or mini Twix)
* frosting
* 1 sucker stick
* toothpicks


Here's how to assemble the tank:
 1.  First, I used a small, oven-proof glass bowl, and filled about 1/3 full with cake batter.  (I added green coloring, as you can tell! ;) I baked according to directions, but watched carefully, as it was such a thin cake!
 2. Once it cooled completely, I (tried to evenly) cut off the 2 side pieces.
 3.  Next, I placed the 2 pieces on top of the middle piece.
 4.  Then, I trimmed of the ends of the top pieces.  I put toothpicks through the tops of the two pieces, and a few through the sides, just to make sure they'd stay!
 5.  I "dirty iced" (to quote the Cake Boss ;) the cake, so all the crumbs would stay put!  I let it chill in the fridge for about 10 min.
6. Once chilled, I frosted the entire cake!  I let that layer chill, then added the finishing touches!!  Measure your licorice pieces to fit along the far right & left edges of the bottom layer, and cut enough to fill both sides.  Place as many Peppermint Patties that fit, along each side of the the bottom layer to represent "wheels" - since my cake was small, I only fit 3 on each side!  Use toothpicks to secure.  Lastly, measure a piece of licorice to fit about 1/2 of a sucker stick, and insert the stick inside the licorice.  Using the exposed end of the stick, poke into center of bottom layer, just under the top layer.


Our party was quite simple - just had it at the party with family, but we had a great time!!!  :)