Monday, September 13, 2010

Bathroom Clock

I'm getting there!! Almost done with the bathroom - woo hoo!! :) I finished the clock that has taken me forever!! It was super simple - -once I figured out what I wanted to do with it!! I tried a few different paints, a few different lettering styles, and a few different ways to hang the clock!! I finally settled on Rust-Oleum's "Hammered" spray paint, white Contact paper letters, and hanging the clock with a tack!! :) Let me explain. . .

I found this frame

& being that it was only $1.41 - at none other than Fry's- I just HAD to buy it!! (I knew I'd find something to do with it!! :) Then, I found this clock:

a whopping $1.98 @ Target!!! (Not my color, but for the price, I knew I could make it my color!!) Sooooo. . . I decided to combine the two!! At our house, we have a little issue with taking long showers!! (Well, kind of one child in particular - - but I won't say HER name!! ;) Anywho - we're always putting a little clock on the counter so she can check the time & get out within 10 minutes!! I figured a big clock on the wall would be much better!!

For the clock: First, I carefully took the clear cover off the clock, (not as easy as I'd hoped!), removed the hands & then placed a piece of paper I cut, on top of the clock numbers. Then I sprayed it with Wal-Mart's red spray paint! :)


For the frame: after realizing that the frame was actually plastic, (boo!), I tried some paints I had, but they just wiped right off!! :( Then, I used some Rust-Oleum primer (don't know if I needed it, but used it anyway!), then followed with some Rust-Oleum "Hammered" spray paint! (Used this brand because my mom gave them to me to try & FREE is always nice!!) :) After the paint was dry, & got out the fabulous Cricut machine & cut some letters out of white Contact paper & stuck 'em on!! After trying for a while to screw the clock on, I tried to put one screw at the top & slide the clock over the screw!!
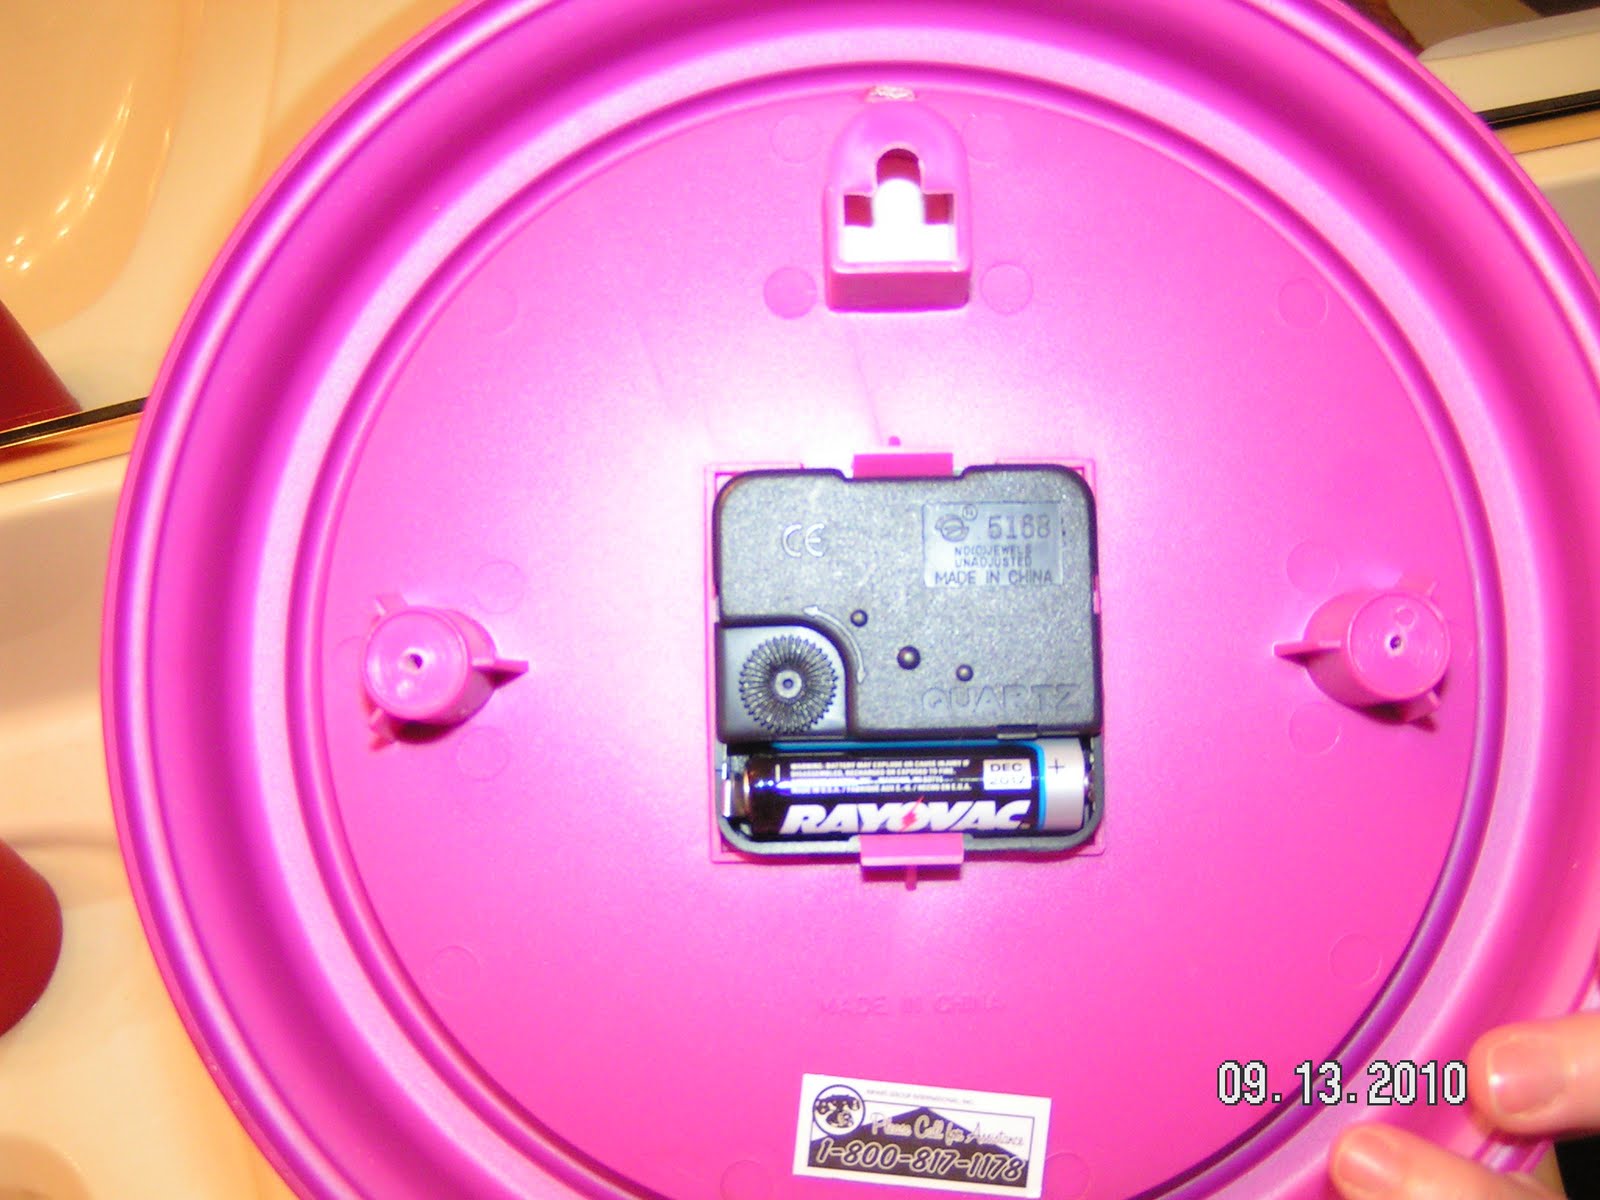
Well, I had to start the hole with a tack & then couldn't get the tack out!! .... hence the lovely tack-clock-hanger idea!!! :) What ever works - right!!??

Friday, September 10, 2010

Easy Bathroom Art

This was definitely a no-brainer project. . . yet again!! :) I found some cute red frames at none other than the dollar store, and thought they'd be perfect for my hall bathroom! I used some subtle scrapbook paper as a background & then cut some cute silhouettes with the Cricut - - that's it - - told ya it was a no-brainer!!! :) I'm still working on a few other bathroom projects, so hopefully all will be done soon!!!

Sunday, September 5, 2010

Use What You've Got!!


Scary, isn't it!!?? Sadly, this is my ribbon! I've been wanting to organize it for some time, and finally attempted to do so the other day & this is what I came up with: using paper towel rolls & a scrapbook organizer!!! Sounds crazy, I know, but it worked for me!! I just love my sparkly pink organizer, but it just wasn't working for me, as a paper holder! :(

I knew that ribbon does best on something round (so you don't get bumpy ribbon), so the paper towel roll came to mind!! Coincidentally, I had just bought a 6-pack of paper towels, so I kinda sneakily removed all the rolls from inside the paper towels!! (Super easy - just grab on to the roll of towels with one hand & pull (& twist) the roll out!!) .... and yes, you can still stick the roll on your towel holder - if you have the kind that stands on the counter! :)

After my P.T. rolls (no, didn't use T.P. - only P.T!! :) were all ready, I separated my ribbon by color. Then I got to work wrapping it around the rolls & taping/pinning it in place! It was quite time consuming, but a little therapeutic!! I was able to fit 7 rolls in the organizer, but I may end up squishing in another one, being that I have soooo much ribbon!! (For pieces smaller than a foot, I'm just going to keep them in in a baggie.) This was clearly a no-brainer, but just wanted to share my "Use What You've Got" idea!!

Isn't it so neat & organized???!! Just loving it!! :)

** Just sitting in my closet, with my little helper at my side & my other helper wanting to take a picture of me while I wrapped my ribbon!! :)

Tuesday, August 31, 2010

Finished Wall Art - FINALLY!!

Ok, so I FINALLY got around to finishing my wall art!! I needed a big piece of wood to make the top piece, and finally realized I could use something I already had!! I had a piece of wood that had 3 peg-hooks - - - didn't need the hooks, so I just sawed them off!! :) Added a coat of paint & then repeated the same lettering process as I did in step 1 & hung them all up!!! I made some cute Contact Paper flowers with the Cricut to fill in the emptiness around the words. No, the words on the top board didn't get centered perfectly, but all-in-all, I'm quite happy with it!! :) (Not exactly the "shabby" PB look, but still cute!!) ;)

I think the Contact flowers added a lot!!!

Friday, August 13, 2010

Pottery Barn-Inspired Art

A while ago, I found these boards at Home Depot in the scrap lumber:

For 50 cents each, I just knew that I could do something with them!! :) Well, a few weeks later, I was at Pottery Barn Kids, and got my inspiration!! I saw these hanging on the wall:

I immediately wanted them, (but didn't want to pay $19 - $34 EACH!!), so I came home & got to work!! ;)

Here's what you do:
* Cut the wood (or have it cut for you), to the sizes you want.

* Paint the edges & front sides of each piece (since I was covering it with paper, I only painted the edges & a tiny frame around the front side, just in case the paper didn't fit perfectly)

* Once the paint dries, you can hand paint details on the front sides, or add scrapbook paper, trimmed to fit. (To attach paper - apply a layer of Mod Podge, add your paper, and then add a top coat if desired. I used Elmer's glue & a flat edge (ruler) to smooth out the bumps - - Mod Podge will be much cleaner!) ;)

* After that dries, add lettering - you can use vinyl, paper, or hand-paint it yourself. (I printed out the words in the fonts I liked, cut them out, traced them on, then hand painted them with craft paint! A little time consuming, but wanted the painted look! I had hoped to sand the words, to give it a distressed look, but it just smeared the paint onto the paper & had to start over! Good thing I tried it out on the smallest word!!)

* Unless you care to add embellisments (I did), then you're done!!

So they don't look EXACTLY like PB's, but I love them!! I think the bolder colors will look cute with her room decor!! Since I only spent $1 on the wood & $1 on the green paint I only spent $2 total!! - - Not too shabby!! :) I'm not quite done though, I have one last one to finish & then I'll post pictures once they're all up!!

Monday, August 9, 2010

Fabric Flowers

I love the cute fabric flowers that are EVERYWHERE, so I decided to give it a try!! These are a little time consuming, but super easy!! The materials I used are:
- hot glue gun
- extra glue sticks
- fabric scraps
- scissors
- buttons/embelishments if desired

* The first step is to cut strips of your fabric. Cut long strips - you can always stop "rolling" your flower & cut the fabric to make smaller flowers!

* Next, take the end of one strip & kind of roll it a little. Put a dab of hot glue on one side & kind of pinch the sides together.

* Now, just keep rolling the fabric around the center, creating a "spiraled" effect. As you roll, continue to add dabs of hot glue here & there to secure it.

There is an alternate way to make this flower - twist the fabric as you make the "spiral" - this will give a "neater" look, however, I found it way too time consuming! :(

* I kind of forgot to take a picture of the finished flower, however, here is the finished project:

For this, I just made 9 different flowers, (4 small pink, 4 medium tan, and 1 large tan), then hot glued them all together & topped them off with a fabric-covered button (didn't have a button the size & color I wanted, so I used a scrap of an old shirt to cover a button!!)!! I haven't yet, but plan on attaching pins (like broach pins) to the back, so this can be removed for washing (or adding to another shirt)!! I also made a bow (using the "twisting" technique)! Turns out, Madelyn has two pairs of shorts that this will match with!! :)

Another bow/flower idea:
I bought this shirt, which had yellow sleeves, (you know, the 2 sleeve look), so I simply cut out the yellow sleeves, making it a short-sleeve shirt! (You can get really cheap shirts at the end of winter, & just cut out the layered sleeve - - ta-da. . . a short sleeve shirt for summer!!!) :)

Anywho - I used one of the sleeves to create a flower for Madelyn's hair!! :)

Monday, August 2, 2010

Back To School!

Well, we don't officially go back to school for 9 more days (who's counting :), but we did a fun project today to get ready!! Since Madelyn's going into FOURTH grade this year, she needed a HUGE 3 inch binder!! Being that they're kinda pricey, (like $10!), we used one that we had & "jazzed" it up! ;) Using the Cricut and some white contact paper, we came up with this:

Cute, huh?? I guarantee no one else with have a cuter 3 in. binder!!! :)