California, here we come!! :) We're going to Disneyland & 2 of my 4 kids had Mickey shirts that they wanted to wear! Well. . . that left 2 without shirts, so . . . I had to get creative!!! ;) Both shirts were super simple (like all my projects ;) - but my son's was the easiest!!!
For his shirt, we used:
* a black shirt
* contact paper (I'm sure freezer paper would have worked MUCH better - but used what I had!! ;)
* bleach (and bleach pen if desired)
* spray bottle
First, cut a Mickey shape (I used a pattern of course!) out of Contact
Paper. Remove paper backing & attach to shirt. Make sure it's
completely stuck to shirt (technical, I know! ;).
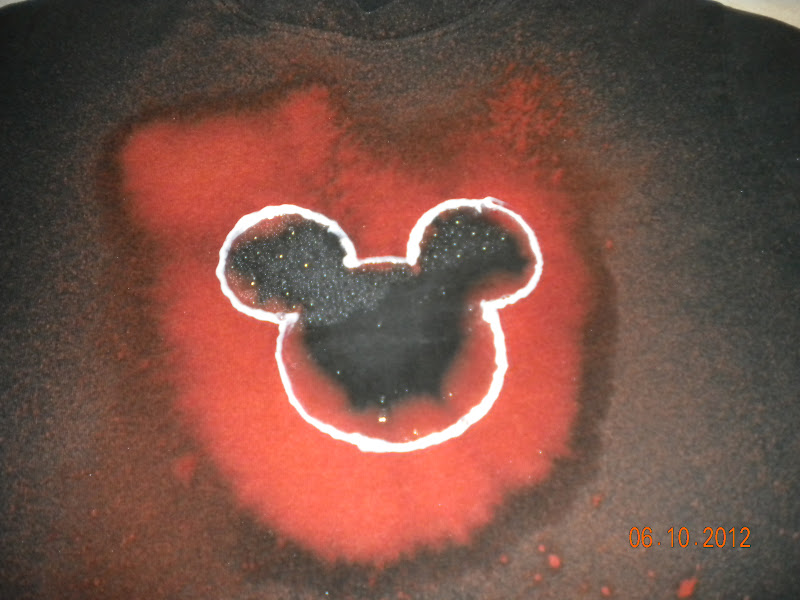
Put bleach in spray bottle & spray shirt as desired!!! Make sure to
cover edges of contact paper to leave the shape outline. *** Like I
said above - freezer paper would probably work much better, because the
bleach went under the Contact Paper :( - - however, we still liked the
end result!!
We were not expecting the red when we sprayed bleach!! It was kind of a cool surprise!! (After it was washed & dried, it faded to a rust color - so neat!!)
I used a bleach pen to trace the Mickey outline, to try & make it stand out a little more! I left it on for about 10 minutes, then washed & dried the shirt.
The final product!! It's unique to say the least!!! ;) My husband said it looks like flames - - could just be the firefighter in him!!! ;)
For my daughter's shirt - - it looks simple (which it actually was), but was kinda time consuming!! She loves zebra print, so we did a simple black Minnie head with a zebra bow!!
I used the same pattern as above - and cut a black head out of felt. I sewed it onto the shirt, made a simple bow out of zebra fabric & hand sewed it on!! Easy peasy!! ;)